
Having a garden or backyard offers a splendid space for relaxation, gatherings, and a strong connection with nature. To enhance this outdoor experience, adding stepping stones is an excellent idea. Not only do they look charming, but they also provide practical pathways to navigate through your garden without damaging your beloved plants. In this blog, we will guide you through creating your own DIY stepping stones. It’s a simple project perfect for adding an artistic touch to your garden, and it’s a great activity for the whole family.
Step 1: Gather Your Materials
Creating stepping stones doesn’t require a long list of supplies, and most materials are easily available at your local craft or hardware store:
1. Concrete Mix: Aim for a sturdy mix suitable for stepping stones, commonly available in pre-mixed bags.
2. Molds: You can opt for commercial stepping stone molds or improvise with cake pans, pie tins, or even heavy-duty cardboard boxes for custom shapes.
3. Leak-proof Gloves: These protect your hands while working with concrete.
4. Water: Essential for mixing with the concrete.
5. Decorative Elements: Think mosaic tiles, pebbles, glass beads, or shells. You can even use leaves or stencils for imprinting.
6. Small Shovel or Trowel: For mixing and pouring the concrete.
7. Cooking Spray or Petroleum Jelly: Prevents the concrete from sticking to molds.
Step 2: Prepare Your Work Area
Before you start mixing concrete, prepare a workspace that is clean and spacious. Lay down a tarp or old newspapers to catch any spills. This makes cleanup much easier and protects your surfaces.
Step 3: Prepare Your Molds
You’ll need to lightly coat the inside of your mold with cooking spray or rub it with petroleum jelly. This step is crucial for releasing the stepping stone once it’s hardened. Ensure you cover all surfaces that will touch the concrete.
Step 4: Mix the Concrete
Now comes the fun part! Put on your gloves and follow the instructions on your concrete mix package. Usually, it’s a matter of adding water gradually and mixing until you achieve a thick, oatmeal-like consistency. Be sure to mix thoroughly enough to avoid lumps.
Step 5: Pour the Concrete
Carefully fill your prepared molds halfway with the mixed concrete using your trowel or shovel. Tap the sides of the mold repeatedly to release air bubbles trapped in the mix. Eliminating these bubbles is key to ensuring durable and crack-free stepping stones.
Step 6: Add Your Decorative Touches
Here’s where your creativity shines! Firmly place your chosen decorative elements onto the concrete. Be sure to press them in just enough to hold them in place but not so deep that they’re submerged entirely. For imprints, gently press leaves or specially shaped stencils onto the concrete surface.
Step 7: Let it Set
Allow the concrete to cure for 24-48 hours, depending on the weather conditions (warmer weather can set concrete faster). Keep an eye on it: if you notice any concrete starting to dry out or crack during the curing process, mist it lightly with water to keep it moist.
Step 8: Remove the Mold
Once your stepping stone is fully cured, gently turn over the mold and tap it slowly to release the concrete. If you’re using flexible molds, carefully peel them away from the stone.
Step 9: Add Finishing Touches
If you’d like, you can enhance the look further by painting parts of your stones or applying a waterproof sealant to protect your designs from the elements. If you feel any sharp edges on your stones, gently sand them down using a concrete sanding tool.
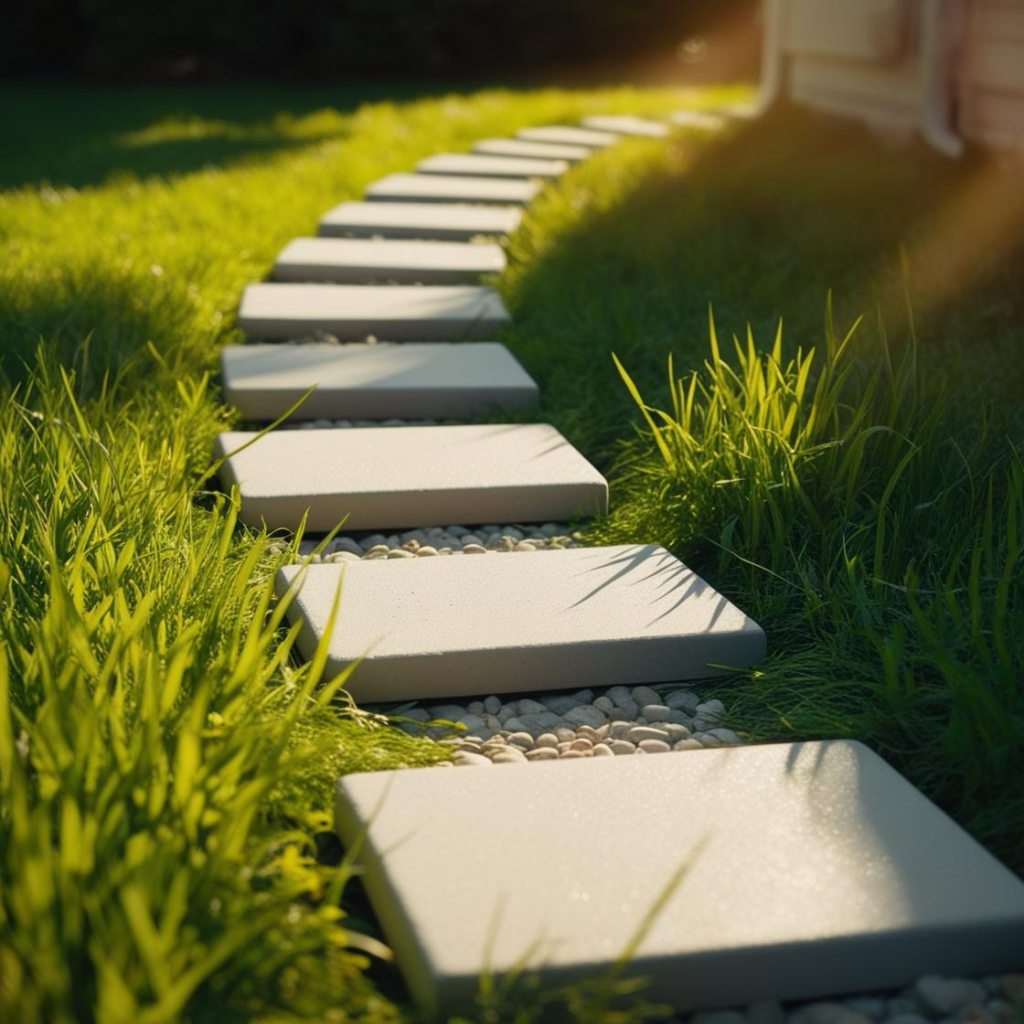
Step 10: Lay Your Stepping Stones
Time to find the perfect spots in your garden to place these stepping stones! Arrange them to create pathways, highlight certain areas, or just scatter randomly for a whimsical effect. Ensure each stone sits firmly in the ground, with no wobbling.
Not only have you crafted a beautiful addition to your garden, but you’ve also created something functional. These stones will offer practical pathways while elevating the aesthetic of your outdoor space. Better still, this project provides an excellent opportunity for personal expression and can be adapted with endlessly different designs, colors, and embellishments.
Get In Touch
Would you like to know more about our company? Please don’t hesitate to reach out with any questions you may have!