
In this blog post, we will show you how to construct a gravel pathway in your outdoor living space. Whether it is to enhance the aesthetic appeal of your backyard or to create a path for your gardening needs, this post will instruct you on how to pave your own gravel pathway. Before we begin, here are some tools to help you get started on your DIY project: a tamper, a utility knife, a shovel, a rake, a wheelbarrow, a hammer, and a measuring stick.
- For the first step of this DIY project, we suggest measuring the width and length of your desired pathway using a measuring stick and a paint marker to set the dimensions. This will guide you in constructing the path. Once this is complete, you will need to excavate and level the pathway, ensuring you add a slope. Use a shovel to form the trench and level the surface. Pro tip: use a wheelbarrow when transporting the gravel.
- For the second step, add crushed stone and use a rake to spread it along your desired pathway. Once this is complete, use a tamper to compact the crushed stone. Remember: the crushed stone should be 2 ½ inches thick. After compacting and raking, dampen the crushed stone with a garden hose and tamp it again to achieve the best results. Pro tip: ensure that the crushed stone is level and smooth before proceeding to the next step.
- For the third step, lay down the landscape fabric and use a utility knife to make precise cuts where needed. Pro tip: use pins and spikes to hold down the fabric during this process.
- For the fourth step, install edging along both ends of the path and tap it down using a piece of wood and a hammer to prevent damage to the edging. Once this is complete, fill the path with gravel, leaving it about ½ inch below the top of the edging. Rake the gravel and ensure that none of the landscape fabric is visible.
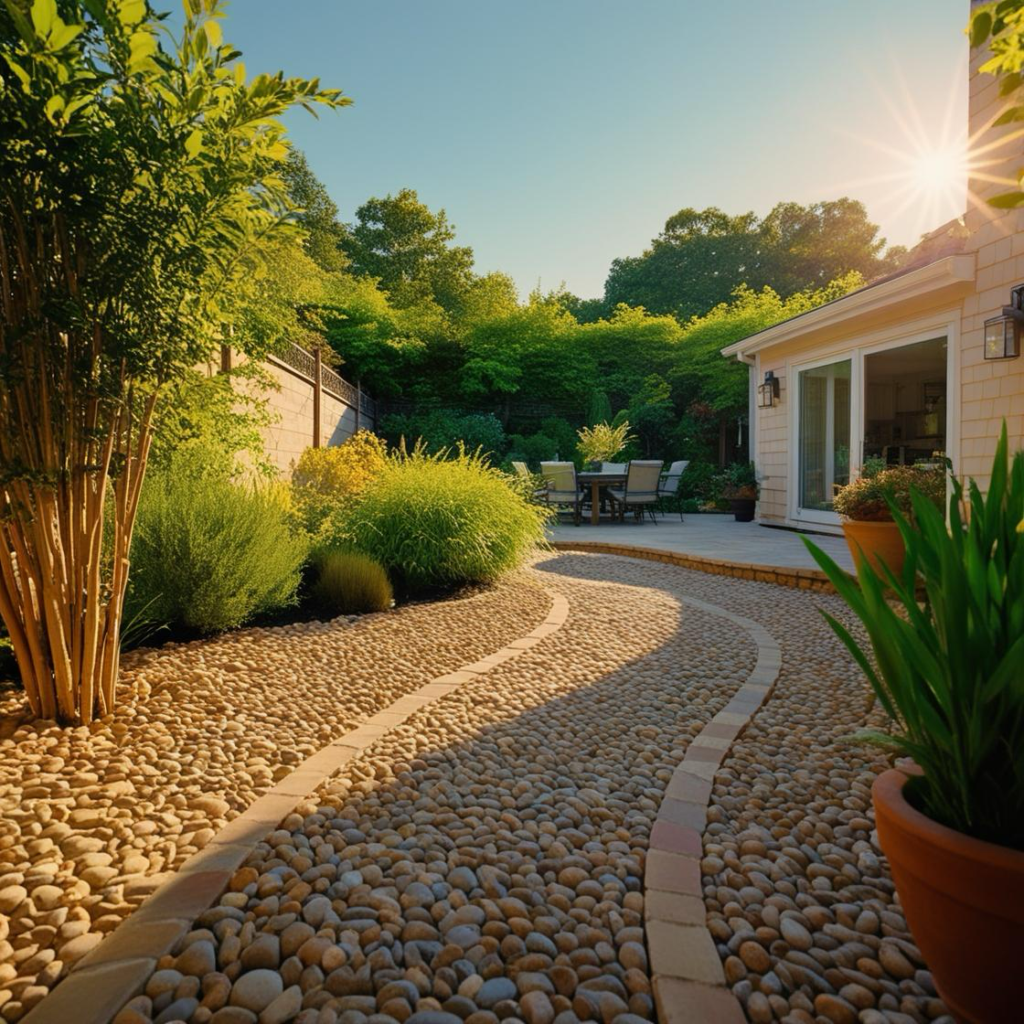
That’s it! These are the simple steps you can use to construct your own DIY gravel pathway. The cost will vary depending on whether you already have the necessary tools and materials, but we estimate it to range from a couple of hundred dollars to one thousand dollars, based on the scope of your project. The time required will also vary depending on how quickly you want to complete your DIY project. As always, we wish you the best on your very own DIY project!